Offline Mode
Your inspections don't stop, even if the internet does.


PropertyLenz Blog
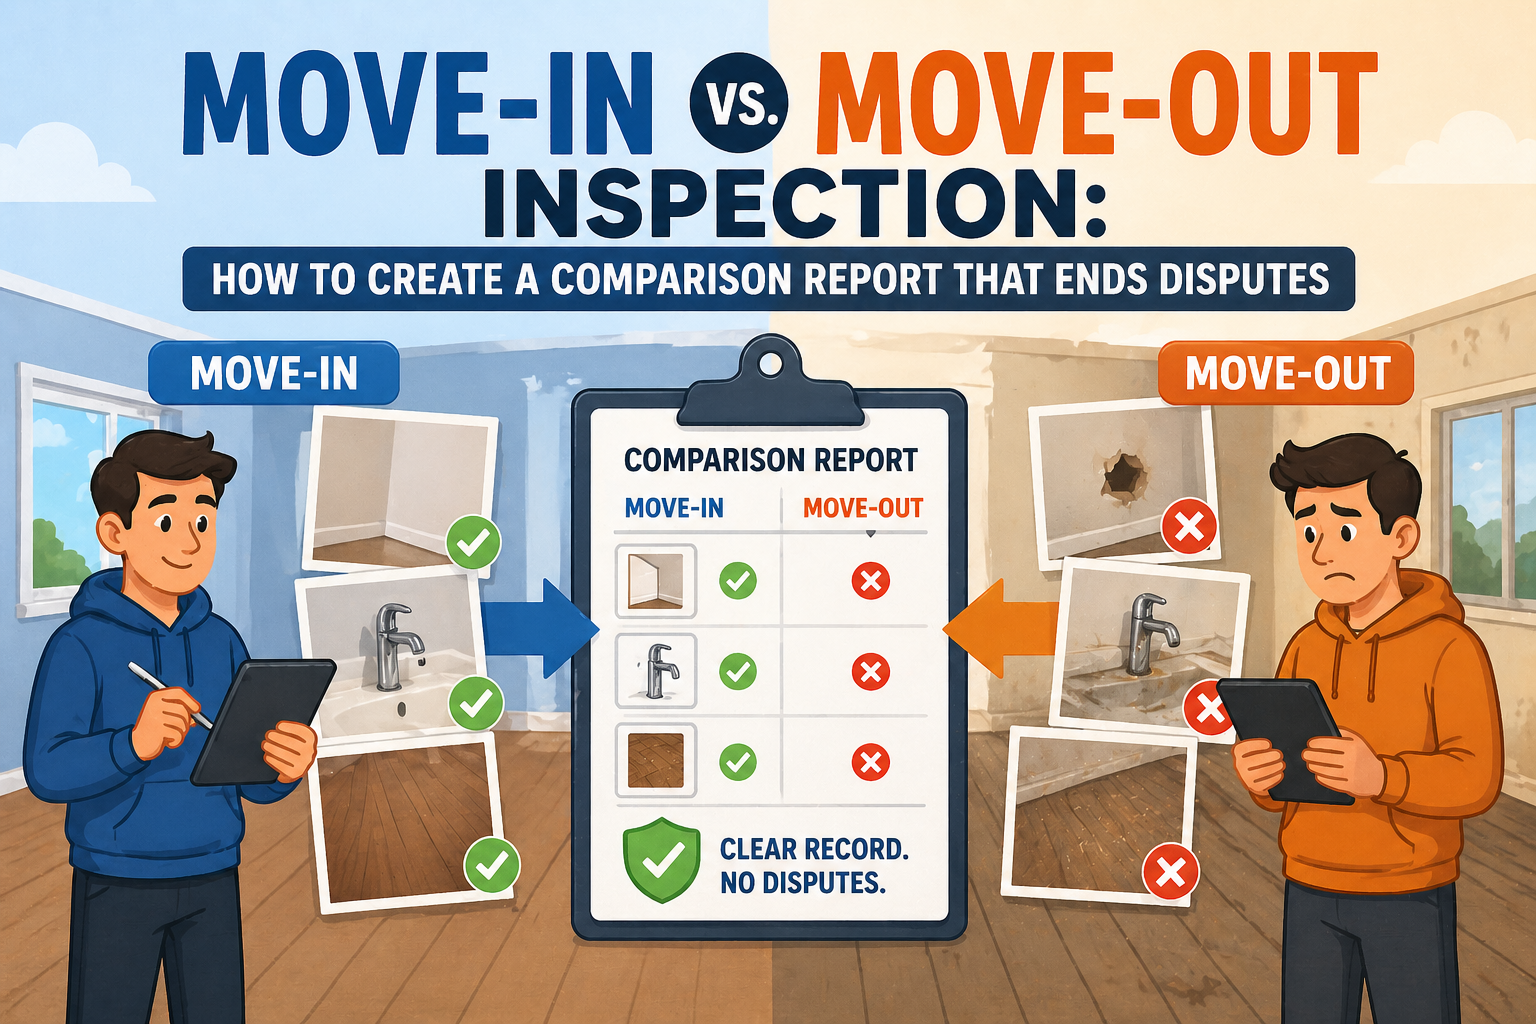
Move-In vs. Move-Out Inspection: How to Create a Comparison Report That Ends Disputes
Security deposit disputes are perhaps the most common source of friction in the property management industry. Tenants often feel they left the property in great shape, while landlords or property managers might notice new scratches on the hardwood or a cracked tile that wasn’t there before. Without a clear, documented history, these situations quickly turn into a “he-said, she-said” argument that can lead to bad reviews, wasted time, and even legal headaches.
The solution to this problem is not just doing an inspection; it is the creation of a comprehensive comparison report. By looking at the move-in state versus the move-out state side-by-side, you remove subjectivity from the equation. This process provides a clear, factual narrative of what changed during the tenancy, making it much harder for disputes to escalate.
The Move-In Inspection: Establishing the Baseline
The move-in inspection is the most critical step in the entire lifecycle of a lease. Its primary purpose is to establish a “baseline” for the property’s condition. This is a snapshot in time that records every detail of the unit before the tenant takes possession.
A thorough move-in inspection checklist should cover every room, including walls, ceilings, flooring, appliances, and fixtures. It is not enough to simply say a room is “clean.” You need to document specific facts. If there is a small stain in the corner of the bedroom carpet, record it. If the kitchen faucet has a slight drip, note it down.
Timing is essential here. The move-in inspection should ideally occur within 24 to 48 hours of the tenant receiving the keys. Most property managers prefer to do this when the unit is completely empty of furniture, as this allows for an unobstructed view of all surfaces. Using tools like Easy Inspection Forms ensures that no detail is overlooked and that the data is captured in a standardized format.
The Move-Out Inspection: Identifying the Changes
Once a tenant vacates the property, the move-out inspection takes place. The focus here shifts from general documentation to identifying changes that occurred during the occupancy. The goal is to determine if the property was returned in substantially the same condition it was received, accounting for expected aging.
Just like the move-in process, the move-out inspection should happen when the property is vacant. Trying to inspect a home filled with boxes or furniture is a recipe for missed damage. During this phase, the inspector follows the same move out inspection checklist used during move-in, but with a critical eye for new issues.

Visual Description: A split-screen illustration showing a clean, freshly painted wall on the left (Move-In) and the same wall with a large scuff mark and a hole on the right (Move-Out), emphasizing the “before and after” comparison.
Why the Comparison Report is the “Gold Standard”
Individual reports are useful, but a comparison report is what actually ends disputes. A comparison report places the move-in data and the move-out data side-by-side. This allows everyone involved: the landlord, the tenant, and even a judge if necessary: to see exactly how the property changed.
When you present a tenant with a report that shows a photo of a pristine countertop at move-in and a photo of a large burn mark at move-out, the room for argument disappears. The evidence is visual, timestamped, and objective.
This level of documentation is vital for compliance. Many jurisdictions require landlords to provide an itemized statement of deductions. A comparison report acts as the foundation for this statement, providing the “why” behind every cent withheld from a security deposit. This transparency builds trust and often prevents the tenant from contesting the charges in the first place.
Distinguishing Between Normal Wear and Tear vs. Damage
The biggest hurdle in any move-in vs. move-out comparison is the definition of “normal wear and tear.” Most state laws allow tenants to leave a property with some signs of use without being penalized.
- Normal Wear and Tear: This includes things like minor scuff marks on walls, faded paint from sunlight, or carpet that has become slightly matted in high-traffic areas. These are expected consequences of living in a home.
- Tenant Damage: This refers to issues caused by negligence, abuse, or accidents. Examples include large holes in the drywall, broken windows, pet stains on the carpet, or missing fixtures.
A comparison report makes this distinction easier to navigate. If a carpet was brand new at move-in and is completely ruined by stains at move-out, that is clearly damage. If the carpet was five years old at move-in and simply looks “used” at move-out, that is likely wear and tear. Having the initial state documented prevents the property manager from unfairly charging for items that were already reaching the end of their useful life.

Visual Description: An animated graphic showing a checklist being filled out on a tablet, with a “Comparison Successful” green checkmark appearing over a side-by-side photo view of a kitchen.
Building a Strong Move-In and Move-Out Process
To ensure your comparison reports are effective, you need a repeatable process. Here is a framework for success:
- Standardize Your Checklists: Whether it is a move in inspection checklist or a move out inspection checklist, keep them consistent. Using the same categories and flow for both ensures that you are comparing apples to apples.
- High-Quality Photos: Descriptions like “scratched floor” are subjective. A high-resolution photo is objective. Take wide shots of every room and close-ups of any existing or new damage.
- Capture Digital Signatures: Getting the tenant to sign off on the move-in condition report is vital. It signifies that they agree with the baseline state. PropertyLenz offers Digital Signatures to make this process seamless and legally binding.
- Use Cloud Storage: Paper files can be lost or damaged. Storing your inspection reports and photos in Cloud Storage ensures that you can access the move-in report years later when the tenant finally moves out.
How PropertyLenz Facilitates Clear Comparisons
PropertyLenz provides a centralized platform designed to handle the complexities of property inspections. Rather than juggling paper forms and disorganized camera rolls, PropertyLenz allows users to generate professional, comparative documents with ease.
The platform’s structure encourages thoroughness. By using Easy Inspection Forms, inspectors are prompted to check specific items, reducing the chance of human error. Because the data is stored digitally, generating a comparison report is a matter of clicks rather than hours of manual filing.
Furthermore, PropertyLenz supports a transparent relationship between the property manager and the tenant. By providing a clear record of the property’s state through Web Portal Services, tenants feel more informed and less likely to feel “cheated” when they see the final move-out assessment.
Visual Description: A clean, real-life photo of a modern living room transitioning into a blueprint-style animation that highlights areas frequently inspected, such as outlets, baseboards, and windows.
The Bottom Line: Evidence-Based Management
In property management, your best defense against disputes is a mountain of high-quality evidence. Comparing the move-in state to the move-out state is the only way to fairly assess security deposit deductions and maintain the value of your assets.
By moving away from manual processes and embracing a digital approach, you gain the ability to produce side-by-side comparison reports that are clear, professional, and difficult to dispute. This doesn’t just save money on repairs; it saves hours of administrative time and protects your reputation as a fair and professional property manager.
If you are looking to streamline your inspection workflow and create reports that stand up to scrutiny, explore how PropertyLenz can help by visiting the Features page. You can also see how other managers have improved their operations by checking out our Case Studies.
Don’t leave your security deposits to chance. Start building your baseline today and ensure every move-out is as smooth as the move-in.